Move In Out Checklist: Why It Matters for Renters and Landlords
A move in out checklist is one of the most useful documents in any rental arrangement. It helps record the condition of a property at the beginning and end of a lease, which can make a huge difference if questions come up later about damage, cleaning, repairs, or security deposit deductions. HUD’s move-in/move-out inspection form is built around this exact purpose, noting that inspections are used to document the condition of the unit and help determine damages and allowable deductions.
Many rental disputes happen because people rely on memory instead of written records. A checklist gives both the landlord and the tenant something concrete to review. It turns a casual walkthrough into a proper record of what was clean, what was damaged, what was working, and what needed attention before or after the tenancy. Apartments.com also describes move-in and move-out inspections as standard rental walk-throughs that help renters note pre-existing issues and help landlords assess damage at the end of the lease.
What a Move In Out Checklist Actually Does
At move-in, the checklist helps protect the tenant. If there is a stained carpet, chipped paint, broken blind, or faulty appliance before the tenant settles in, it should be noted right away. That way, the renter is less likely to be blamed for something that was already there. Nolo specifically advises tenants to use a move-in checklist and document the unit’s condition to help protect their security deposit.
At move-out, the checklist helps protect the landlord. It gives the property owner or manager a structured way to compare the home’s current condition against the earlier record. If damage occurred during the tenancy, the checklist helps identify it more clearly. This is one reason walkthrough checklists are so widely recommended in landlord guidance.
What Should Be Included
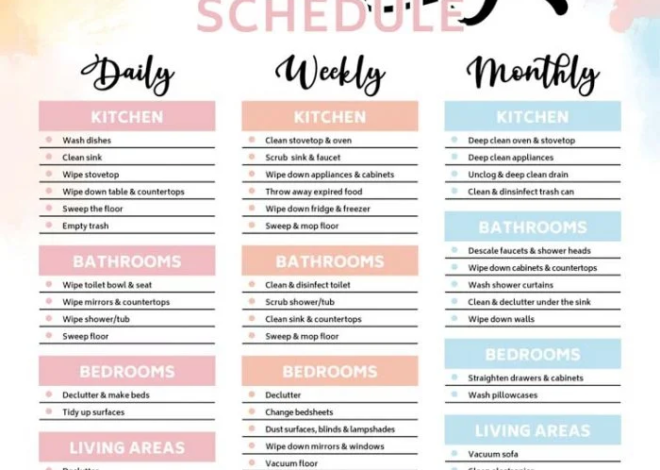
A strong move in out checklist usually works best when it is broken down room by room. Apartments.com recommends organizing the form by designated areas and dividing each room into elements such as floors, walls, doors, and windows, with space for notes and signatures. Their downloadable inspection forms also show practical categories such as entryway, living room, kitchen, bathroom, and condition notes for each area.
In a typical checklist, you would inspect walls, ceilings, flooring, doors, locks, windows, blinds, outlets, light fixtures, smoke alarms, and closets. In the kitchen, you would usually check cabinets, counters, sinks, leaks, oven, stovetop, refrigerator, and other appliances. In bathrooms, it makes sense to test the toilet, sink, shower, drains, water pressure, and signs of mold or leaks. These are the same kinds of details highlighted in rental walkthrough guidance and sample apartment walkthrough checklists.
Why Photos Make the Checklist Stronger
A written checklist is helpful, but photos and videos make it even better. Apartments.com recommends taking pictures and videos during the move-in inspection because physical evidence gives stronger proof of the property’s condition. Nolo also advises renters to take pictures and video when moving in to support security deposit protection later.
This matters because written notes can sometimes be interpreted differently. A photo of a scratched floor, cracked tile, stained ceiling, or broken blind is much harder to dispute. The best practice is usually to complete the checklist carefully, then take clear, dated photos of each room and any visible issues.
Best Time to Complete It
Timing is important. Apartments.com explains that a move-in inspection is different from a pre-lease property tour. The move-in walkthrough should happen after the lease is signed and when the property is vacant, cleaned, and ready for move-in. That makes it easier to inspect the unit properly and record its actual condition before daily living begins.
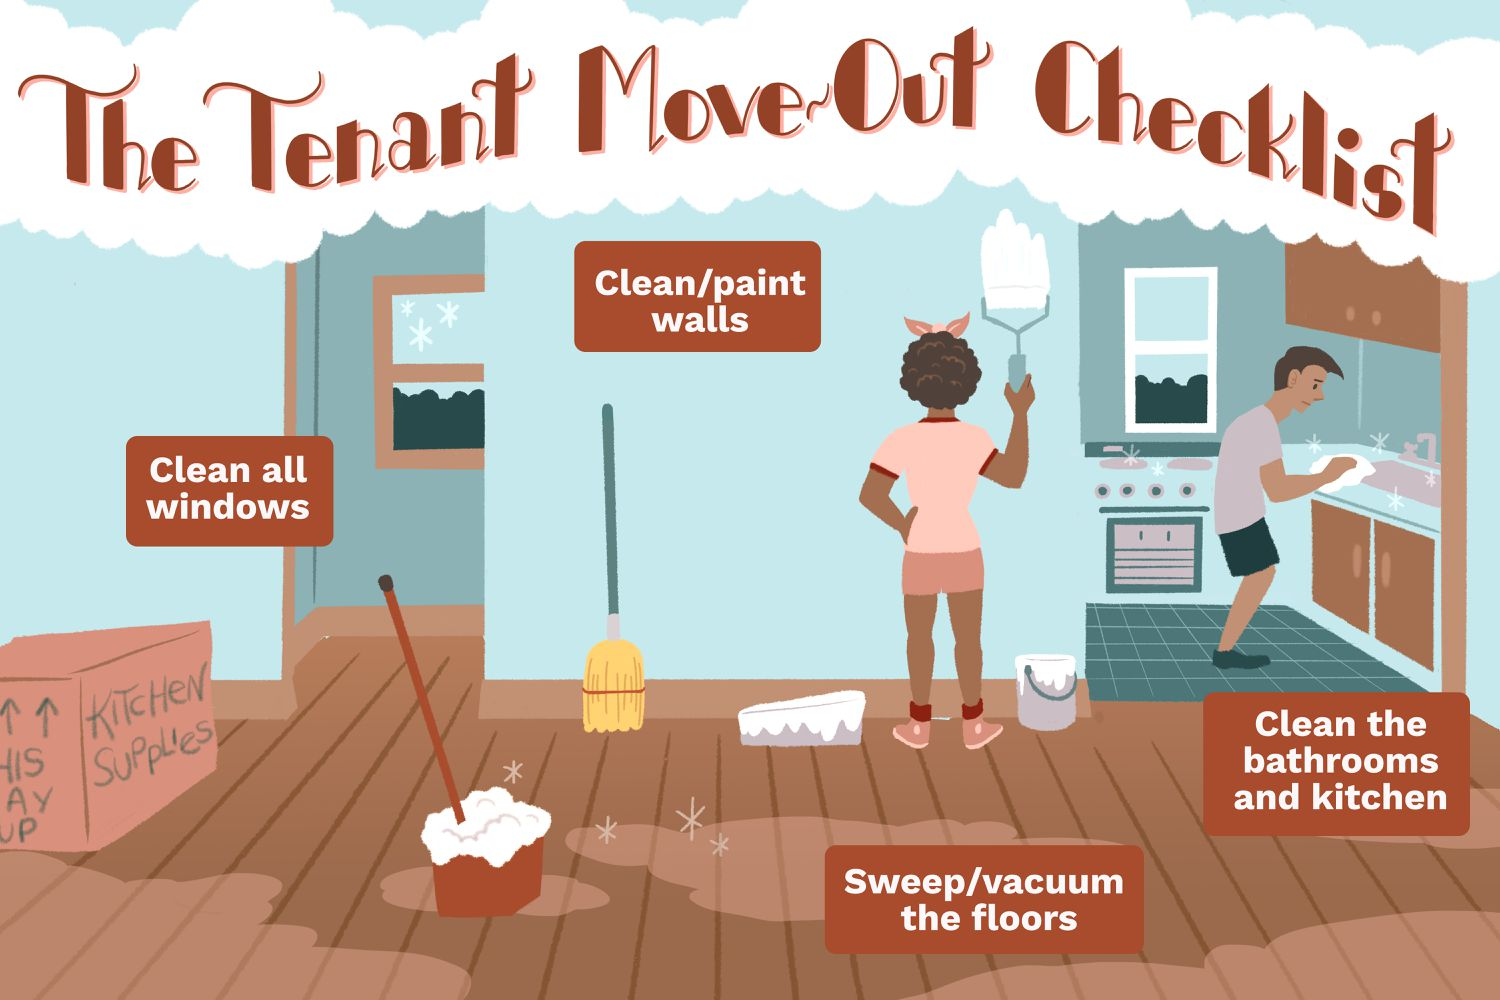
For move-out, the checklist should be completed after the tenant has removed belongings and finished cleaning. That gives a more accurate view of the home’s final condition and makes comparison with the move-in record much easier. Landlord inspection guidance also points to move-in and move-out as two of the main points in the rental cycle when inspections should happen.
Common Mistakes to Avoid
One common mistake is rushing through the inspection. A fast walkthrough may miss small damage that becomes important later. Another mistake is failing to write specific notes. Saying “okay” is not as useful as noting “small stain near bedroom closet” or “chip on bathroom sink edge.” A checklist works best when it is detailed enough to be useful months later. This room-by-room, notes-based format is exactly what professional walkthrough resources recommend.
Another mistake is not getting signatures. Apartments.com recommends both landlord and tenant sign and date the completed checklist and keep copies. That helps confirm both sides reviewed the same document.
Final Thoughts
A move in out checklist is simple, but it plays a big role in a smooth rental experience. It helps tenants avoid unfair charges, helps landlords document property condition, and gives both sides a clearer record of what changed during the lease. Official HUD materials and rental industry guidance both support inspections as a normal and useful part of managing a rental property.
When done properly, this checklist is more than paperwork. It is one of the easiest ways to reduce confusion, protect a security deposit, and keep the move-in and move-out process fair for everyone.